 RU
RU  EN
EN Congratulations!!!
You've installed the MultiNotes app, and we really hope you enjoy it and find it useful!
In short, MultiNotes is a note-taking app, meaning it's perfect for when you need to quickly jot something down and save it. But there are a huge number of such applications, right? Every phone already has a pre-installed "Notes" app, so why download another one? The thing is, MultiNotes, in addition to its basic text note function, has many other features that make this application a universal personal information storage! The original interface and numerous settings make it simple and convenient for various tasks. At least, this is what more than a million users in 170 countries around the world think.
In this section, we'll give you a quick tour of the app's interface and give you tips on how to get started using it right away.
First of all, you see several office cork boards with notes pinned to them. Each board is a separate section, allowing you to easily organize your notes by topic. You can navigate between boards by simply swiping left and right or by tapping the colored headings.
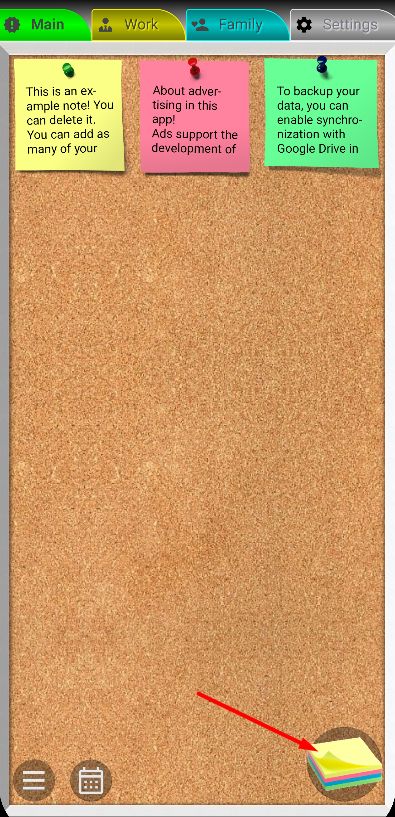
So, to get started with the app, select the desired board and click on the image of the "cube" with stickers in the lower right corner. A new note and on-screen keyboard will open.
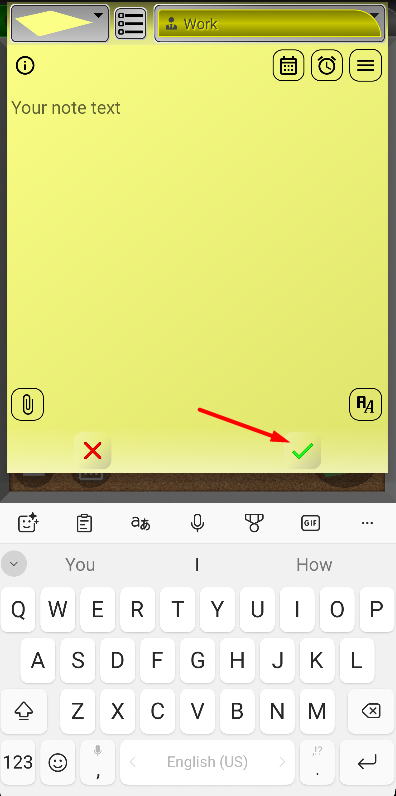
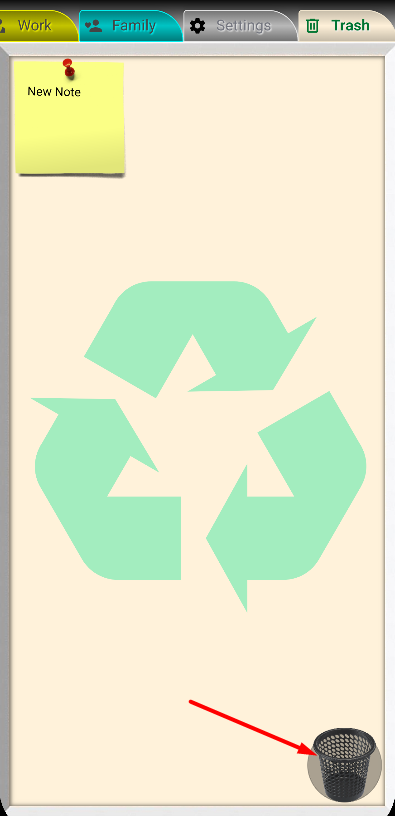
Write some text, for example, “New note” and save the note by clicking the green checkmark. You'll see your note appear on the board.
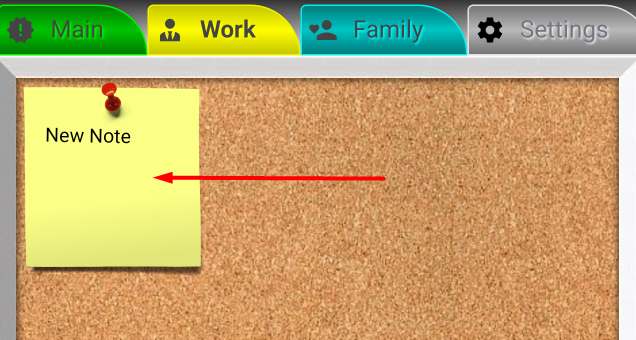
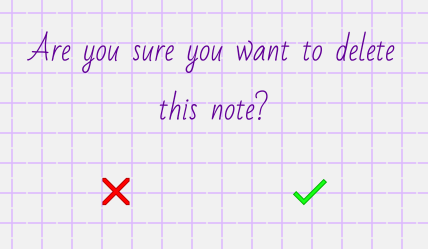
Now click on it to open it again and read it. Now delete this note by clicking the button with the blue trash can icon.

Yes, just in case, you need to confirm this action in case you accidentally pressed the delete button.
Now you have mastered the basic skills of using the application. See how easy it is!
But that's far from all you can do with a note! You can:
- Attach photos, videos, audio, documents, and more to a note.
- Set reminders for a note so you don't miss important events.
- Pin a note to your phone's home screen.
- Protect a note from changes and lock it with a password.
- …and much more.
You can read about all this in the "Working with a Note" section.
But let's return to our first acquaintance with the application.
The list of sections isn't limited to the ones you see: "Main," "Work," and "Family." These boards are just examples to give you a starting point. Later, you can add as many of your own boards as you like, and even make them with a different background if you don't like the colorful cork background. You can read more about this in the "«Boards» Setting" section.
If you scroll further to the right, you'll see two special boards that can't be deleted or renamed:

👉 "Settings" - this board contains all the settings available in the application, as well as tools for backing up data. A detailed description of all the settings can be found in the "Settings" section.
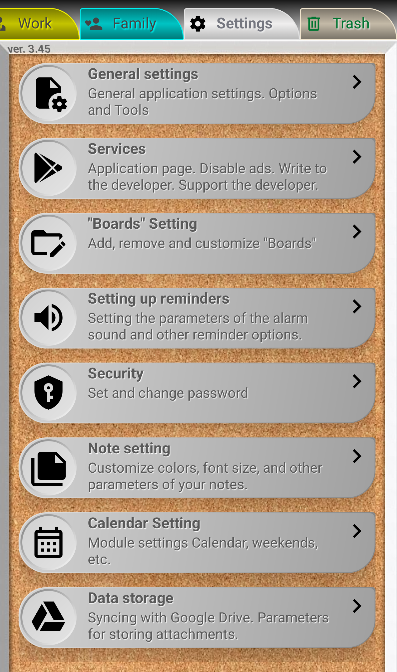
👉 "Trash" is a board where all deleted notes are temporarily placed. If you deleted a note and then suddenly realized you needed it, now you know where to look for it. You see, the note we deleted is in the Trash.
By default, deleted notes are stored in the Trash for 24 hours, after which they are permanently deleted. However, you can increase this time interval in Settings, under "Data Storage".
You can open this note and restore it.
If you're absolutely sure you don't need the notes in the Trash, you can delete them early by clicking the "Empty Trash" button in the lower right corner.
And finally, let's pay attention to the bottom of the screen:
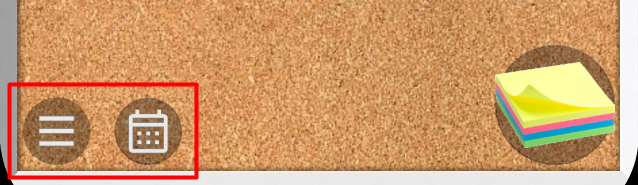
You see two buttons:
👉 First is the menu for batch processing notes. You can read about it in the "Main menu" section.
👉 Second is calling the Calendar. The calendar is another mechanism for using notes. You can find information about this in the "Calendar" section.
We recommend that you read the other sections of this Guide to get the most out of the app.